PAGES

Showing posts with label projects. Show all posts

Project Completion: Rocking Chair

Sunday, April 22, 2012


Remember our chair project from way back?
Well, we FINALLY finished it. The finished product is not perfect and I have to go back over a couple of spots with the black paint again, but considering our lack of experience in upholstering, I think it turned out pretty good!

Before:


After:

This was a pretty cheap project. With the price of the old chair, fabric, paint, nailheads, and a nail gun, the total was right around $65.

Thank you to my husband for testing his patience and humoring my project!


Project: Neon Bracelet

Tuesday, February 7, 2012


I'm sure you've seen that neon's all the rage these days. Unlike other trends I try to avoid, I'm totally falling for this one, especially when it comes to jewelry!  Here are some inspiration images I've come across lately:

seen HERE


 seen HERE

Painted neon jewelry- 'why can't I do that?'
The other day I found an old costume-y crystal bracelet in my stash and knew it was perfect for a little neon makeover.

There she is.

All you need for this little project is below.


1. Your paint colors- I used mod squad by Essie and lickety split lime by Sally Hansen in keeping with the neon theme. But of course, the possibilities are endless.
2. Tweezers- I just used my regular eyebrow tweezers to pry the prongs back and remove the stones.
3. Brushes- A brush smaller then the actual polish brush is necessary. I used two makeup brushes turned paint brushes and they worked pretty well.


Let dry about 30 minutes before replacing the stones and pushing the prongs back in place.

And enjoy!

Are you all loving neon as much as I am?

Project: Christmas Wreath

Thursday, December 15, 2011


I finally found a use for that chinsy "garland" Jake bought last year. Since it is not worthy of mantle or staircase drapery (I apologize if you like it), I used it to cover a $3.99 straw wreath form from the craft store. I tried using just the red but ran out 3/4 of the way, so I trimmed it and added the silver half way.


To make things interesting, I hung it from a 99 cent sparkly wreath hook using red ribbon. And let us not forget the JOY ornament placed in the center.


I hung it from an interior door- one in the diningroom to be exact- as I don't think it would weather the elements too well.


The other side of the diningroom houses our table and chairs, which we don't use very often, but they still needed a little Christmas flair.

Fun placemats huh? Thanks, Mom.

And now, the REAL reason for the season:


Project: Rocking Chair Update

Monday, November 28, 2011


We've begun work on our chair. Pulling the entire thing apart was interesting, especially when I took a closer look at the cushion and batting. That is straw you see in the above picture. Creative way to make your cushion a little thicker I suppose. I'm convinced this chair was originally constructed on a farm somewhere.


Gotta love the potato sack cushions. All I have to say is, "bye, bye, orange vinyl!"

Stay tuned.

Project: Glitter High Heels

Thursday, November 17, 2011


I bought these gold high heels at a "barn sale". Yes, I said barn sale. They were 50 cents. I had an idea to spice them up for the holiday season.
Insert fabric glue and multicolored sparkles!
I coated the heels in fab glue, then over a shoebox, sprinkled the glitter all over them.


These photos were taken shortly after so there are some stray sparkles scattered about. The shoes really need 2 good coats.


You can see in the photos that I needed to reapply in a couple of spots, which I went back and did later. A little trick is to give the shoes a coat of hairspray and that keeps most of the glitter from falling off and tracking everywhere.


Now I'm ready to pair my "new" heels with my new emerald green silk shirt for holiday parties!

Project: Rocking Chair

Monday, November 7, 2011


Jake and I found this beat up retro rocker at Goodwill and decided to take a chance on it. It has strong bones but needs a serious makeover. I narrowed it down to 2 fabric options...say goodbye to the orange vinyl. Orange vinyl makes me think of bars and since when do bars house rocking chairs?
So, I need a little help deciding. Please weigh in on your favorite.

A

B

I'm leaning toward option A and painting the wood black, but Jake is leaning toward B and painting the wood a grey tone. We are a house divided.

What do you think??

Search for the Messiest Closet?

Tuesday, November 30, 2010

Now, I wasn't exactly searching for the messiest closet, but I think I still may have found it. I spent some time at my parents' house over the holiday weekend. It was go-go-go time until Sunday rolled around. Mom and I were ready to hunker down and get some things accomplished. We planned to clean/re-organize her closet, and set up the tree. We only accomplished the first. And now you'll see why:

(I spy perm rods, a family picture from the 1980s, the dress my mom wore to my wedding, old makeup bags, board games, and lots of out of date clothes.)

No, this is not a joke. She and Dad have been living with this closet for some time now. It's not as if there was 20+ years of stuff packed in there, we did a closet overhaul a few years ago! Honestly, the closet belonged on TLC's "Messiest House." My inner OCD comes out in such situations and I actually enjoy making progress organizing.

We worked for 5 1/2 long, hard, hours, but not without some laughs. I threw out half of my dad's worn-out wardrobe, including a couple pairs of shoes. He gave me permission to get rid of the shoes above. He said, "Yeah, go ahead and throw these out. I haven't worn them since last year."
If you knew my dad and his dumb humor you would laugh. Clearly, the dust reads several years.
Mom found a picture from 1996, where we attended a cousin's wedding. She and Dad were in pretty amazing shape back then, not to mention, it was mid summer and Mom was rockin' a great tan. She showed my dad the photo and he couldn't believe how different she looked (or the fact that he had a comb over). To which he exclaimed,
"Is that you?! I thought it was Michelle Obama!"

After packing 3 large bags to go to Good Will...

 
One to consignment... (hi, layla)


and 10 bags of GARBAGE...

We have the end result.

(Those are not carpet stains, just shadows. Up until this point there has not been enough room to picnic in the closet.)

Can you believe the amount of trash we took out? What a transformation. And look at all the open space in that average size walk-in! Two things I learned:
Dad could use more clothes.
Mom doesn't need another thing:)

Does your closet look like the before picture? Or are you a naturally organized person?

*Comment to inquire about my hourly rates:)
 

shoe storage

Tuesday, August 10, 2010

During my time off work I tackled the shoe storage project I've been planning since moving into our little log house. Upstairs in the loft, which is also our master bedroom, there are three built-in cubbies. I'm not sure what the original plan for these were, but seeing how we have only ONE closet in this house, we needed to make use of every square inch. Jake and I each have our fair share of shoes. We were able to fit the majority of them in the cubbies.


Now of course we have more shoes hidden under the bed, in our closet, and near the front door, but I tend to rotate according to the seasons. We try and keep the shoes looking organized, but I know I'd rather not see them everyday- this happens to be the wall on MY side of the bed!
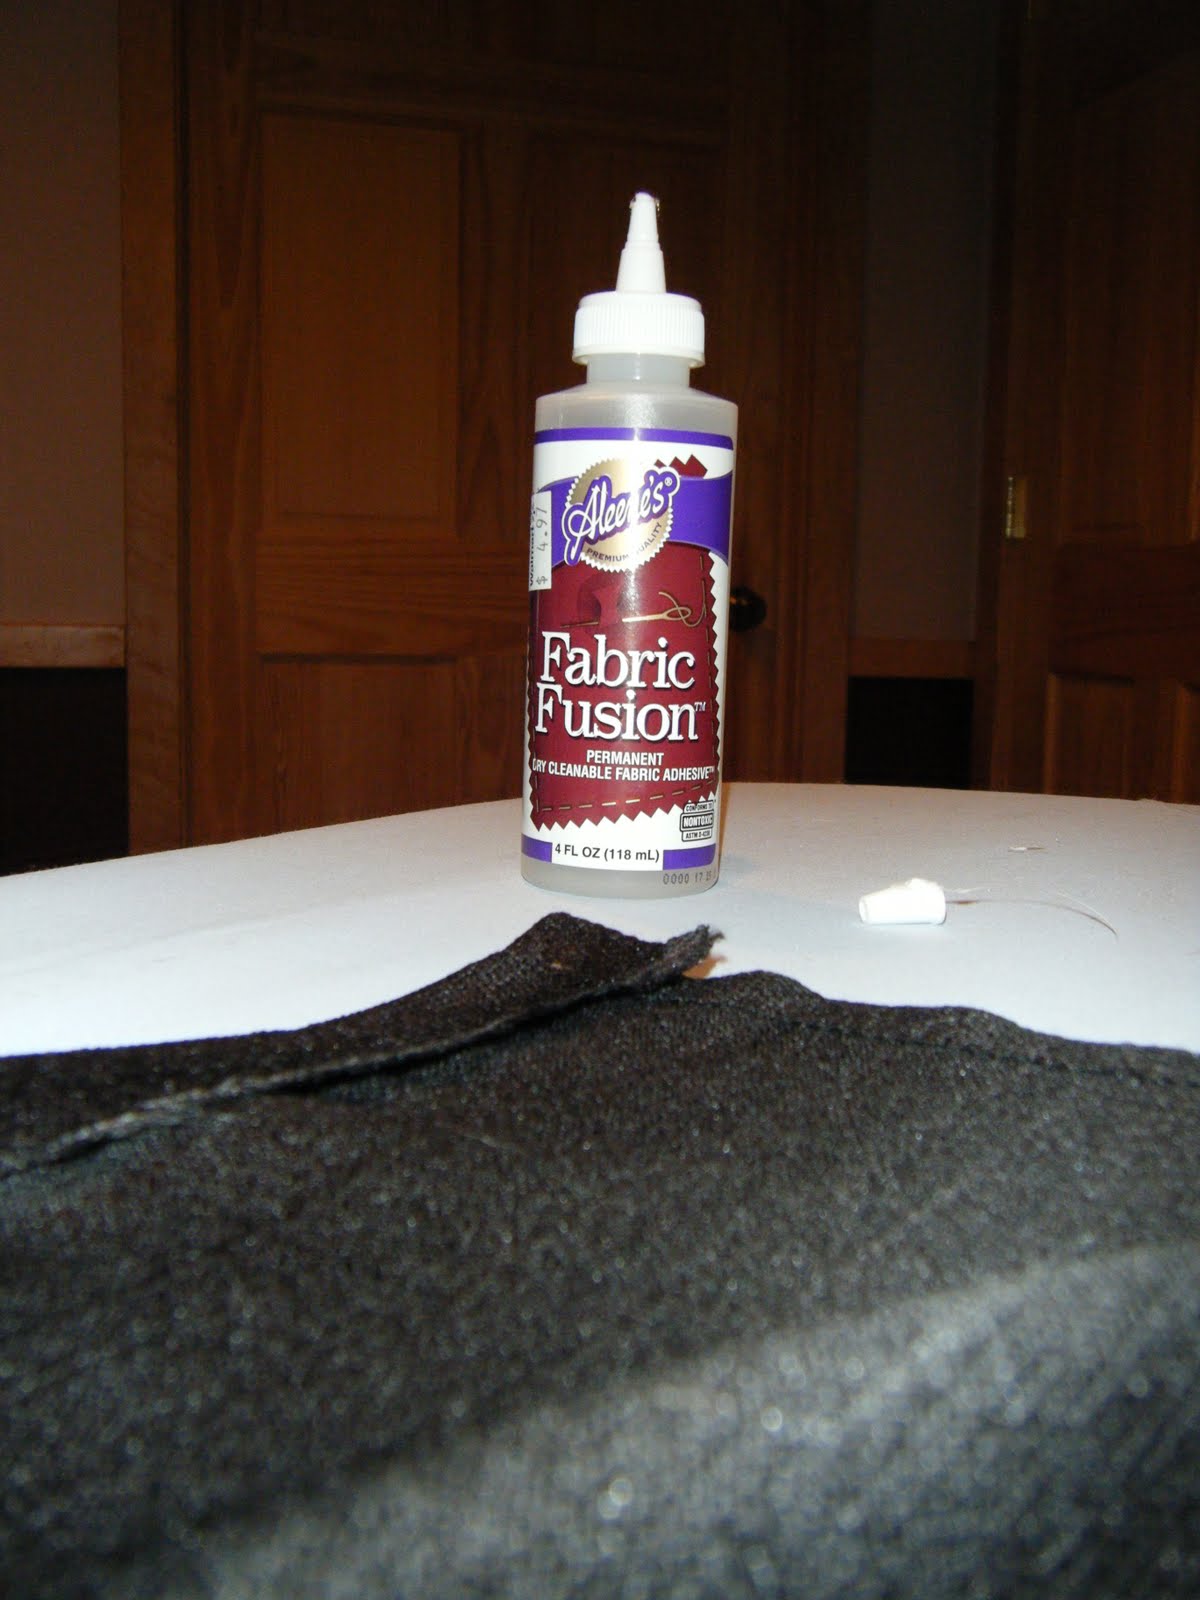
Using a few 84" black curtains and tension rods that I had from the last rental, I figured I could make some custom curtains to hide the shoes--No sewing required!
I cut the curtains to size, ironed the bottom flap back to create a nice, clean, straight line, and used fabric glue to adhere the jagged flap!
Problem solved!

Rest of the room to come....

childhood bedroom

Monday, June 21, 2010


Here is a project that was completed recently. My mom wanted a warm, cozy feel for their guest bedroom, which happens to be my old bedroom! She was using an antique bed, chest, and nightstand, and wanted to incorporate a little red into the decor. This room has seen many wall colors. Everything from lavendar, to dark pink, to a yellowy cream, and now....

Beige and Chocolate Brown.

Unfortunately, I didn't get any proper "Before" pictures, just "in progress" pictures. And forgive my camera, it serves its purpose, but I'm begging for a new wide lense camera this year for my birthday and/or Christmas present.


in progress

after
(please ignore the cords under the bed....so annoying)

in progress

after
in progress
after


office completion

Monday, February 8, 2010

Finally, I took some office "after" pictures. So here is my little office nook transformation:
Before:


After:


Junk pile:


Organization:


So much better. I threw a lot of stuff away, organized files, important documents, and supplies into separate boxes, and covered a few of those ugly boxes in some old wrapping paper I had lying around. For a little jazz, I (actually Jake) spray painted the framed cork board, which I turned into an inspiration board, added a few girlie details and...voila!


Blog Design by Nudge Media Design | Powered by Blogger